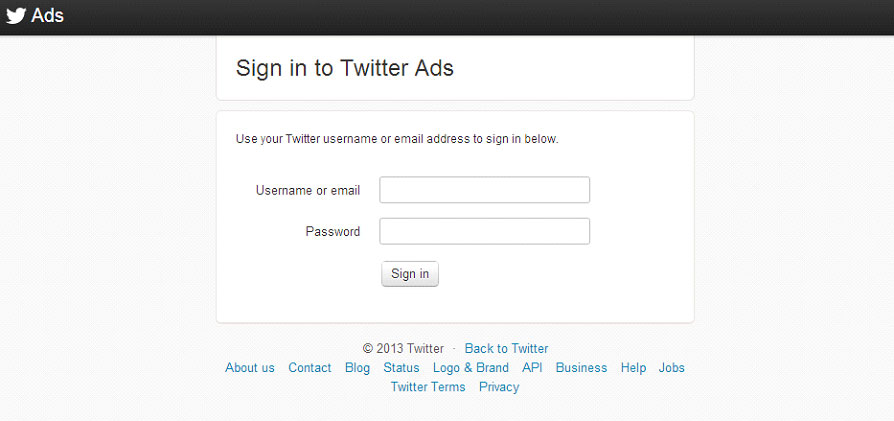
1. Account Setup (Step 1) – Go to https://ads.twitter.com and wait for the screen to load. The next prompt will be for you to enter your username and password explained in the next step. If you do not have a Twitter Account, you will want to create on by going http://www.twitter.com and signing up for a new one. Your Twitter account will be the same as your Twitter Ads account.
Note – You’re Twitter and Twitter Ads accounts will be the same.
Note – If you do not have a Twitter account, you should sign up for one and its free.
2. Account Setup (Step 2) – Log IN to your account using your twitter user name and password as shown in the screen shot below. If you do not have a Twitter account, you should open one up before moving forward to the next step. Twitter does make it very easy to open up an account and it is free of charge to do so. You can get an account at http://www.twitter.com/

Note – You’re Twitter and Twitter Ads accounts will be the same.
Note – If you do not have a Twitter account, you should sign up for one and its free.
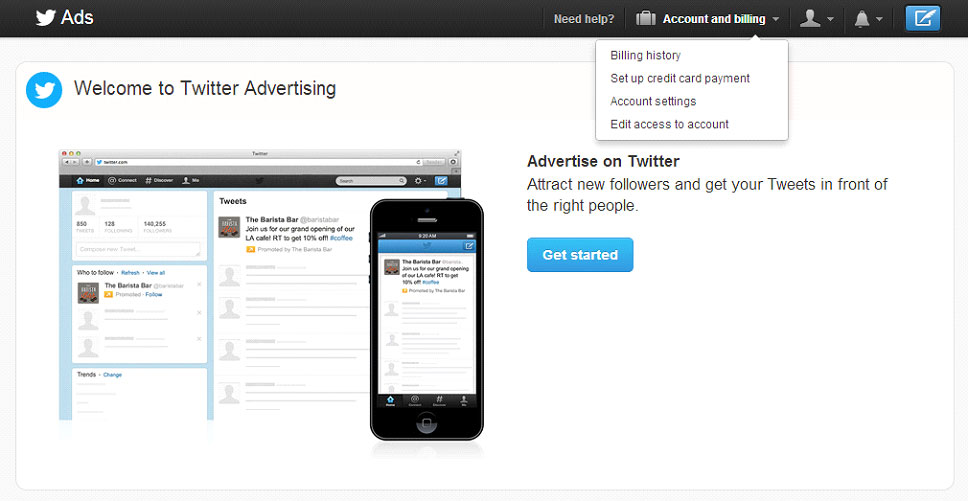
3. Account Setup (Step 3) – After you have successfully logged in to your twitter account, you can click on “Account and billing” (Reference Billing Document). This step must be completed before you are able to use your account as your billing information should be present before running your ADS. You may be able to setup your ADS before adding your billing information but you will not be able to run the account. Please make sure to reference the Twitter billing document for more information.
Note – You should add your billing information on this step before moving forward.
Note – You should fill in your Account Profile, Billing and Account Settings before moving forward.
4. Account Setup (Step 4) – Select “Edit access to account” from the dropdown labeled as “Account and billing”. This will take you to the Account Access Section. You will want to make sure that the person / organization you plan on giving access to should be following you on Twitter. If the person you want to give access to is not following you on Twitter, let them know that they should.

Note – Twitter does enable you to give access to others, as they will manage your account.
Note – We recommend that you set up your billing (Billing Document) before moving forward.
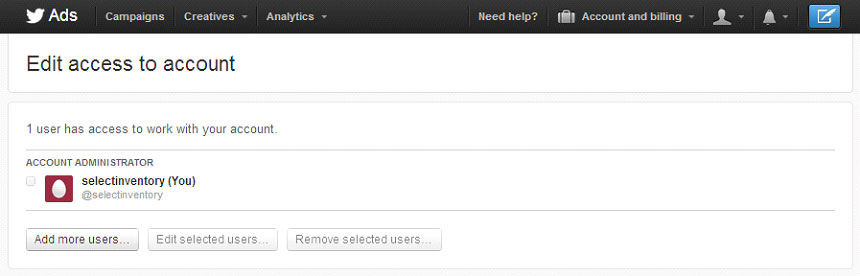
5. Account Setup (Step 5) – This screen below will enable you to add users and view those you have already given access to. The goal of this screen will be to manage users who have access to your account. You have the ability to “Add more users”, “Edit selected users” and “Remove selected users”. We would recommend that the users you are adding to your account are following you already.
Note – You can revoke access at any time by simply click on the “Remove selected user”.
Note – This screen enables you to manage all aspects of account access management.
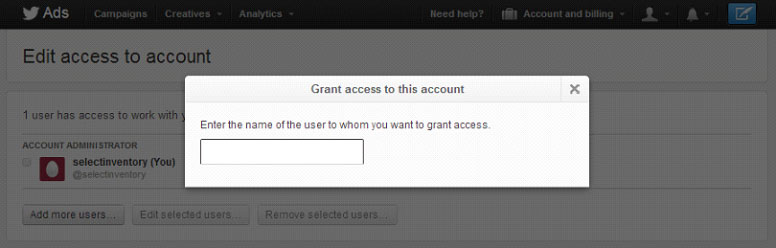
6. Account Setup (Step 6) – From the previous screen, click on “Add more users”, from there, you will see the popup load as shown in the screen below. You will want to make sure that the person you plan on adding to your account is actually following you, if they are not, ask them to do so. Once you have started typing in their name, Twitter will auto select from the list as shown in the next step.
Note – The popup above will enable you to start the process of giving access to someone else.
Note – Make sure that the person you plan on adding is already following you.
7. Account Setup (Step 7) – Type in our agency username [seattleseoconstant] and select it our name from the list as shown below. If we are not following you yet, please contact us and we will do so. The list will show you a list, make sure that the user you do select is the right one as this agency / user will have full access to your billing / twitter ads account.
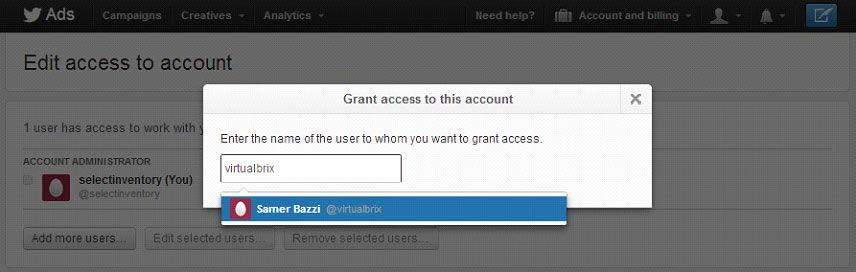
Note – You want to make sure that we are following you on Twitter before moving forward.
Note – As you type in the name, Twitter will give you a list of matching queries, as shown above.
8. Account Setup (Step 8) – After you have added us as a user, you will be able to set the permissions for that user. You can select to make the user an “Account Administrator” or “Ad Manager” and from there, you can select that option and then click on “save” as shown in the screenshot below.
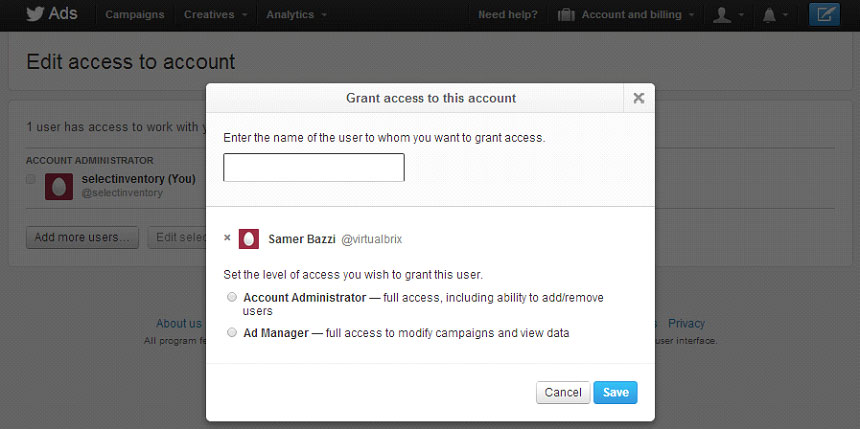
Note – You may enable the selected user to manage the entire account as an admin.
Note – You may allow the user to just become an Ad manager only (Recommended).